Thursday, May 15, 2014

"Make it yours" - enchanted clutch bag


Since I decided to enter the "Make It Yours" Sewing Contest I can't seem to stop make this bags. This is my 3rd try at it ( or 4th .. I had started another one before this but is not finished yet - still working on ideas on how to finish it ) .Here are the links to the pattern and contest rules ( pattern is free, entering the contest is optional ):
I wanted to do something different when I started. I was thinking of a tree patchwork applique. But when the "tree" was finished I didn't like how it looked on the background fabric that is so beautiful on its own. And I had already cut the enchanted fabric...  I didn't sew for two days since none of the 2 work in progress bags felt right. In the end I decided to keep it simple and add just a few beads and pom poms to it. It was ready really fast and I love it. Is so bright and colorful.
Michael Miller fabric
And the day light dress up photos:

pom poms clutch

Friday, May 9, 2014

"Make it yours" - owl clutch bag


owl bag tutorial

You can vote for my owl in Deby's contest here:
Contest vote link.


As I said before I wanted to do more bags for the "Make It Yours" Sewing Contest. This is my second try at it.Here are the links to the pattern and contest rules ( pattern is free, entering the contest is optional ):
For some time now I wanted to try do my own owl bag. I've been putting down on a list all kind of ideas for it but I didn't had the courage to try it until today. Deby's pattern seemed pretty good for it and I already had a try at the pattern so I had the confidence needed to make a few small changes. Some of this ideas involved a lot of work but I took the easy way... I took out all my fabric and start looking for prints I can use. Here are the fabrics I selected :


Here is how I did it: ( the picture not the best - it was night .... )

I did another copy of the pattern, folded it as the final bag will be and start drawing... After that I did 2 small cuts in the pattern :

Take a look at the picture with the 2 pattern unfolded and overlapping to get a better understanding:
The new pattern I folded in half and cut. Kept one part and used the other to cut out smaller pieces ( wing, eye, eyebrow ):
Note that because of this I now have to cut the fabric, the lining and interfaces on the fold:
I
After this I took the eye and the wing patterns and try to find something in the printed fabrics that I can use. After mixing and matching I decided not to use the exact patterns for eye or wing and completely dropped the eyebrow. Here was the preview setup:
I cut the extra fabric and and sew the eye and the wing on main fabric of the clutch. I also added some eyes for toys.

From here I just followed the pattern instructions with only one exception. I didn't let the seam open in the middle for reversing but more on a side:


the result seemed a bit to plain so I glued a few felt accents.


The final result:


Wednesday, May 7, 2014

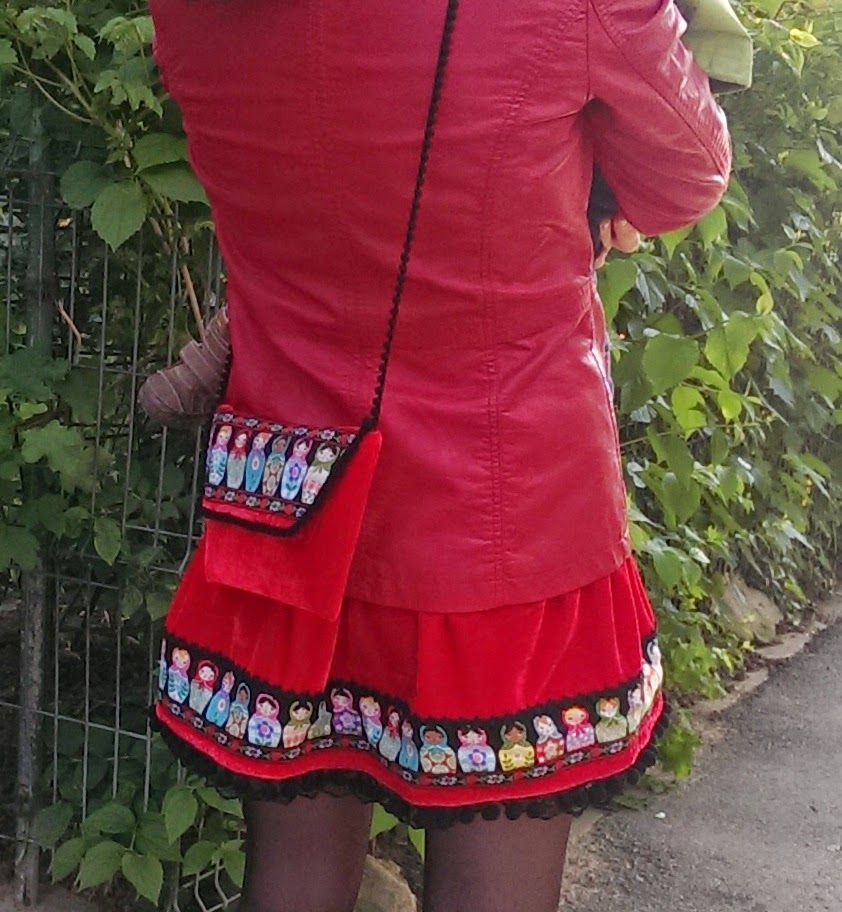
"Make It Yours" - my very own red velvet matryoshka clutch


"Make It Yours" sewing contest, clutch, matryoshka doll, pom poms tape, red velvet, ribbons applique, so sew easy,
Yesterday I stumbled upon this very nice contest from So Sew Easy. I just love competitions. They motivate me to do some extra work and try new things ( I never did a magnetic closing before this one for instance ) and there is also a nice parade of creations that just warm your heart and give you so many new ideas. The task seemed pretty easy to do ( I think even a beginner can try to do this - there was only one tricky part for me following this pattern : how to fold everything together before the side seams) so I let my imagination fly... searching for my own clutch. I think this is one of the things I love most: take some simple item and make it personal, just mine, unique. That's probably why I got my clutch in the same day I decided to enter the contest... The pattern is free and easy and for me it turned out better then I expected from my first try. To be honest I started this project more like a test the pattern sewing with the scraps from my Matryoshka Skirt. But once it was ready I just  fallen in love with it. I took it to work today and it was nice to wear it. Is so light and bright and sticks to me... So easy to take it to park when I go play with my boy and not having to worry about the extra weight or losing it.

Here are the links to the pattern and contest rules:

My printer is dead and I didn't had the patience to take it somewhere else to print so I opened the pattern pdf, put it to 100% resolution did some measurements and calculations ( math come easy to me ) and put it on one of my son drawing sheets ( did some recycling ).I cut everything out and start sewing. For the final band I did a hand stitch. I will let the pictures tell you more f the story.

Sewing:


 Inside the clutch:


Outside with my son after work :

"Make It Yours" sewing contest, clutch, matryoshka doll, pom poms tape, red velvet, ribbons applique, so sew easy,
 "Make It Yours" sewing contest, clutch, matryoshka doll, pom poms tape, red velvet, ribbons applique, so sew easy,

 The outdoor photos got the color better that the indoor ones but I still like them.

"Make It Yours" sewing contest, clutch, matryoshka doll, pom poms tape, red velvet, ribbons applique, so sew easy, ie romaneasca traditionalaRed velvet matryoshka skirt and clutchwith pop poms and ribbons applique


Tuesday, May 6, 2014

Yellow and black polka dots circle skirt returns


Yellow and black polka dots circle skirt with bow decorated t-shirt and lace hem
 It seems that this skirt had a bit of the success so I was presented with the opportunity to make another. There are so many ideas and possibilities out there that it didn't made sense to do it the same. For this one I used lace tape for the lower hem and embroidered tulle for the waistband decoration. Here is how it turned out.
Yellow and black polka dots circle skirt with bow decorated t-shirt, two layer skirtYellow and black polka dots circle skirt with lace hem two layer skirt
Yellow and black polka dots two layer circle skirt with lace hem twirl


Friday, May 2, 2014

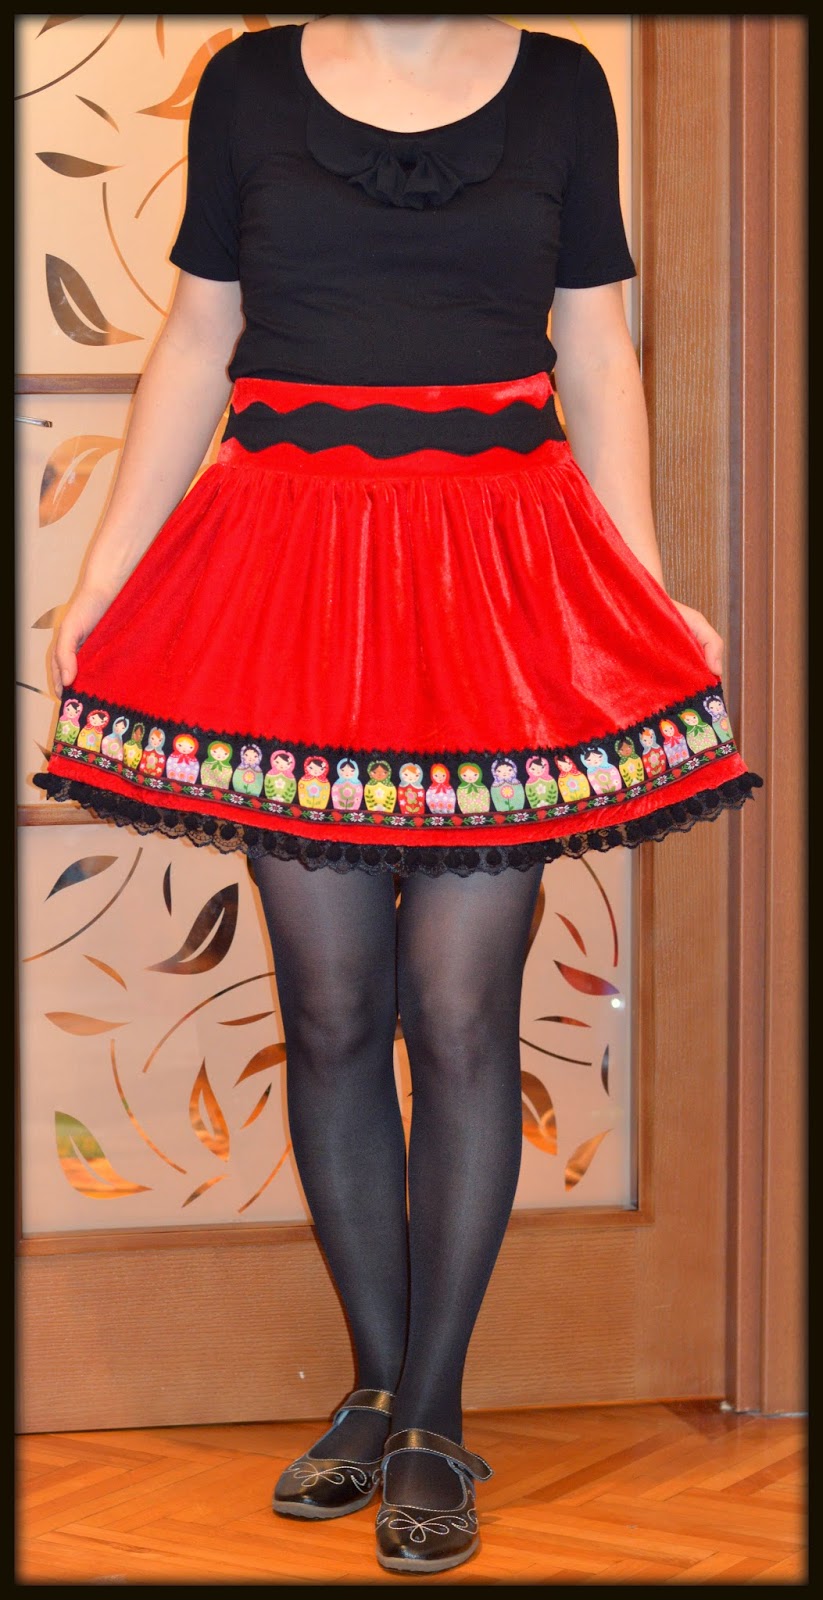
Red velvet matryoshka skirt with pom poms


lace tape, matryoshka doll, pom poms tape, red velvet, ribbons applique, skirt, lace hem, decorated waistband
I have seen this spring a nice red velvet skirt with pom poms and embroidered ribbons and I had to have one too... I knew I had a rest of red velvet from another project and a russian doll cotton  fabric I just loved and hopping I will find a project for it soon. I wanted to use more ribbons initially but but after laying all on the table and doing some mixing it seems that less is better... For the waist band I used the same pattern and decoration as for the yellow polka dots skirt from the contest. For the lower hem I used lace and pom poms tape. Is a bit short I think but that's all the fabric I had left. Anyway I just love it. Is full of color and joy.
lace tape, matryoshka doll, pom poms tape, red velvet, ribbons applique, skirt, lace hem, decorated waistbandlace tape, matryoshka doll, pom poms tape, red velvet, ribbons applique, skirt, lace hem, decorated waistband, twirl

lace tape, matryoshka doll, pom poms tape, red velvet, ribbons applique, skirt, lace hem, decorated waistband, twirl
lace tape, matryoshka doll, pom poms tape, red velvet, ribbons applique, lace hem,
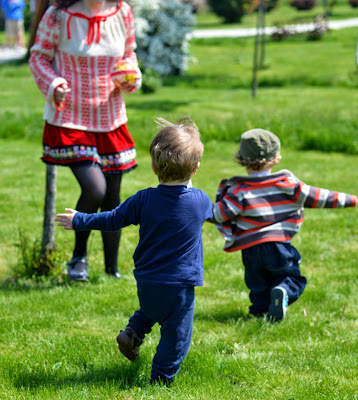
And now the skirt taken outside to play this weekend. And I must say it feels really good to be in the clothes I make even with all their flows.
matryoshka doll, pom poms tape, red velvet, ribbons applique, skirt, lace hem,
lace tape, matryoshka doll, pom poms tape, red velvet, ribbons applique, skirt, lace hem, ie traditinala romaneasca tricotatalace tape, matryoshka doll, pom poms tape, red velvet, ribbons applique, skirt, lace hem, ie traditinala romaneasca tricotata
ie traditinala romaneasca tricotata
I also made a small clutch  to match the skirt here.